


Last year, iOS 16 gave us the ability to cut subjects out of our photos. It was fun! But it wasn’t totally clear what you should do with them. That changes in iOS 17, which is still in public beta at the moment. You can download it now or wait until the full release this fall, but in either case, you’ll find one excellent way to use your photo cutouts: turn them into stickers.
I know. I was skeptical, too. But you have to trust me on this: stickers in iOS 17 are well worth your time, particularly in iMessage. You’re going to thrill and impress all of your friends when you turn a grumpy picture of your cat into a tapback reaction, and everyone will want to know how you did it. You can tell ‘em we told you, or just keep it to yourself and take all the credit like some kind of Apple Genius Bar genius. No judgment.
Here’s how to do it. (I followed these steps on an iPhone 13 Mini running the iOS 17 developer beta.)
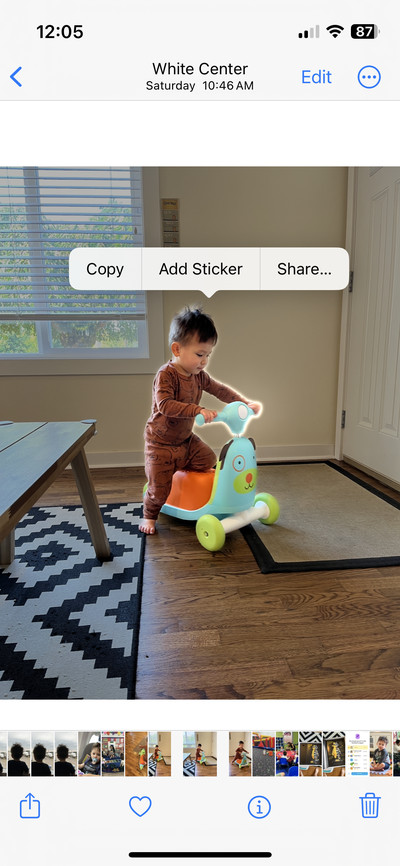
- Start by opening the Photos app and finding the picture you want to turn into a sticker.
- Long-press the subject until a glowing border appears around it, and tap the Add sticker option.
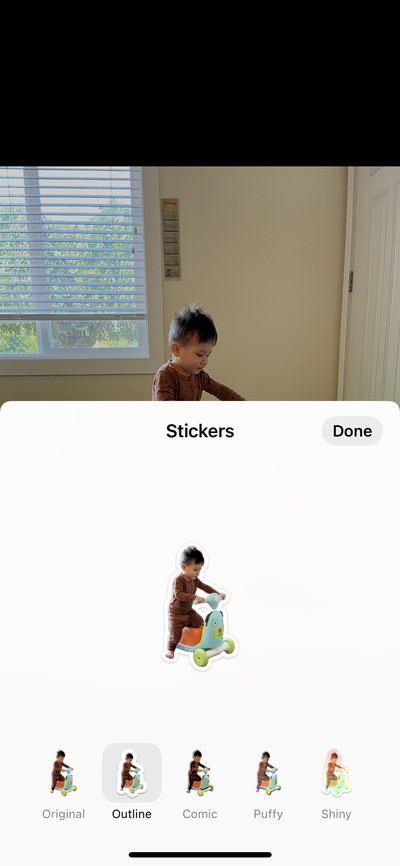
- A drawer will appear with your current stickers, and the photo cutout will be added.
- You can add an effect now or revisit it to do that later.
You can retrieve your stickers anytime using Apple’s iOS keyboard. Just tap the smiley icon where you access emoji and scroll all the way to the left of the Frequently Used panel. There, you’ll find any stickers you’ve used recently, as well as a shortcut to access all of your stickers. Just tap the sticker you want to use — but be aware that, outside of iMessage, they’ll just appear as PNG images. The best way to use them is in the walled garden of Apple’s messaging app:
- Open an iMessage chat.
- Tap the plus icon to the left of the text box and select Stickers.
- Tapping a sticker will just add it to your iMessage text. For something even better, you can long-press the sticker you want to use to drag and drop it onto your conversation. You can also stick it to a particular message if you want to use it like a tapback reaction for comic effect.
A couple of pro tips:
- Adding an effect to your sticker sounds cheesy, but it’s actually great. Either tap Add Effect when you’re initially making your sticker or long-press it (and let go) whenever you’re accessing your stickers to see the effect options. Outline adds a white border for a more obvious sticker-like appearance. If you choose the Puffy or Shiny options, it’ll use your phone’s gyroscope to change the reflection like you’re actually moving it under a light source. Try it, it’s great.
- You can turn live photo subjects into moving stickers. Follow the same process as with a regular photo, but on the Add Effect sticker page, make sure the Live option is enabled to animate it. Use it as you would any other sticker.